


 4 Steps of Tattooing
Article by: SlingerVille Staff
May 19, 2013
4 Steps of Tattooing
If
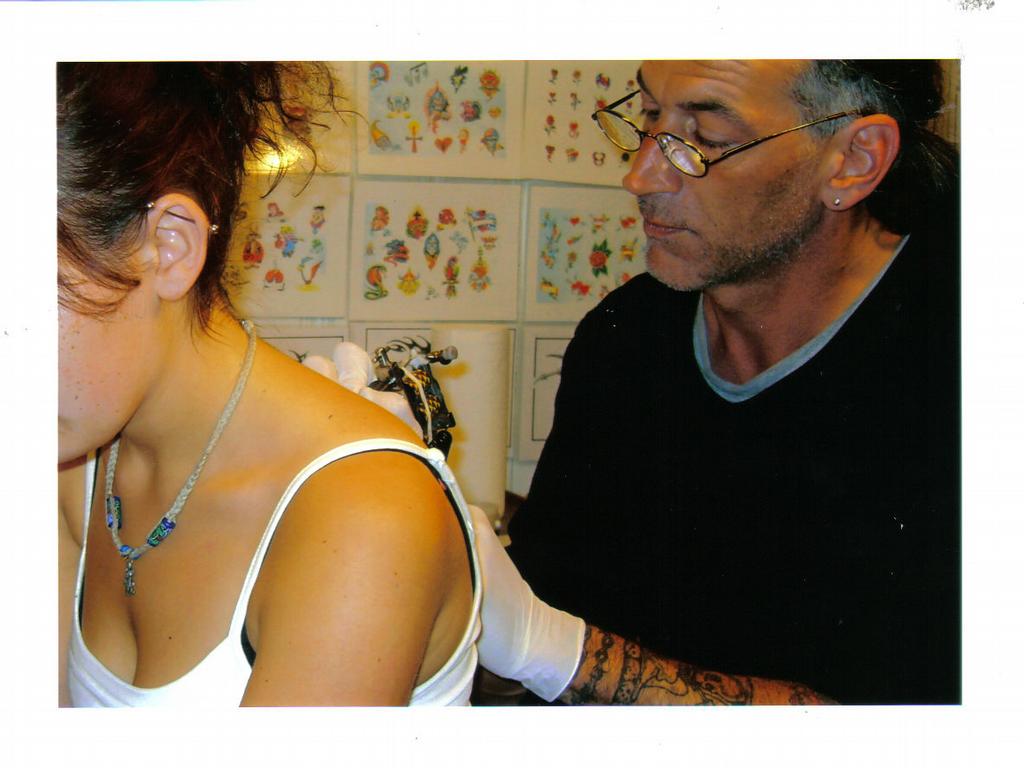
you don’t have a tattoo and are wondering what it entails,
Health.HowStuffWorks.com has given us a step by step of the tattooing process.
1. Outlining, or black work: Using a single-tipped needle and a thin ink, the artist creates a permanent line over the stencil. Most start at the bottom of the right side and work up (lefties generally start on the left side) so they don't smear the stencil when cleaning excess ink from the permanent line.
2. Shading: After cleaning the area with soap and water, the artist uses a thicker ink and a variety of needles to create an even, solid line. Improper technique during this step can cause shadowed lines, excessive pain and delayed healing.
3. Color: The artist cleans the tattoo and then overlaps each line of color to ensure solid, even hues with no holidays -- uneven areas where color has lifted out during healing or where the artist missed a section of skin.
4. Final cleaning and bandaging: After using a disposable towel to remove any blood and plasma, the artist covers the tattoo with a sterile bandage. Some bleeding always occurs during tattooing, but most stops within a few minutes.
Some tattoos take hours upon hours to complete, so one may come in to only get the outlining done and then come back for the shading and even make another appointment to finish the color. The tattoo process is fairly simple, just four steps!
Source:
health.howstuffworks.com
Login to comment
Comments
About Us | Terms of Service | Privacy Policy | Posting Policy | FAQ | Contact Us
Copyright © 2025 SlingerVille - All rights reserved.
Follow SlingerVille


